ActiveCampaign
ActiveCampaign is a form of content marketing that uses email content (email) which sent in bulk to reach many customers, for the purpose of promoting any product or service of any company or business. Business With more than 150.000 users, ActiveCampaign makes it easy to run your marketing, set up email automation, automate marketing if you don’t have time to do it. We provide our customers with a form that integrates with ActiveCampaign with the aim of enhancing the user experience and collecting customer information in the easiest way.
Steps to integrate ActiveCampaign with the Forms widget:

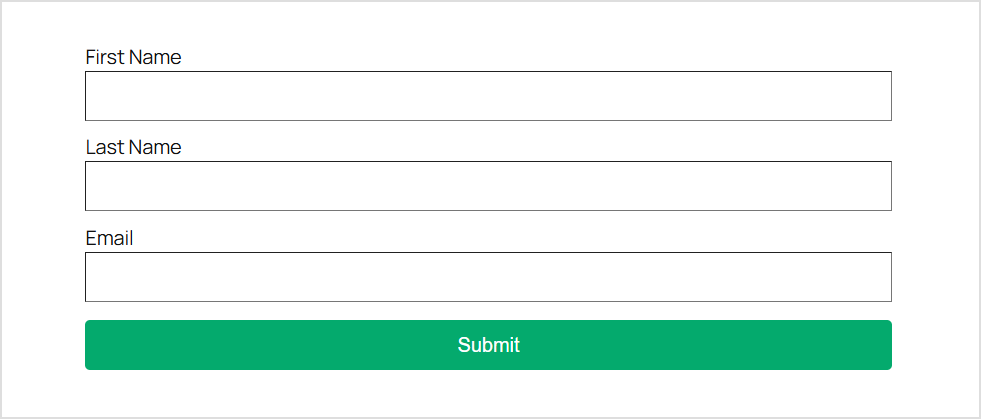
Step 1: Create forms with full information
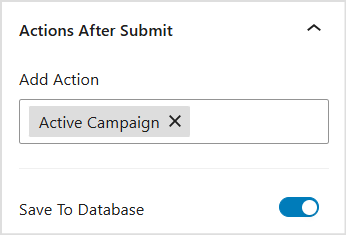
Step 2: Select the Actions After Submit section, add ActiveCampaign to the actions select box.
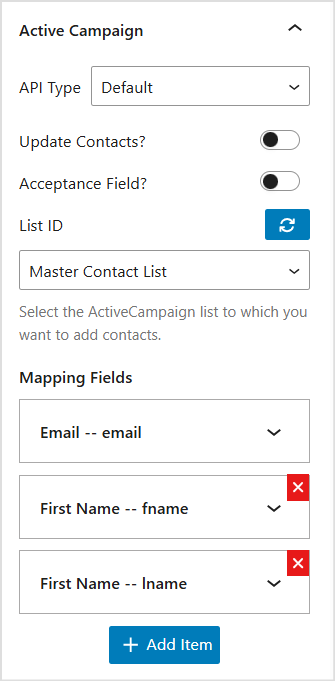
Step 3: Select the ActiveCampaign section and perform the integration.
- API Type: Select Default or Custom to enter the API Key.
- Default: You need to enter API key information at: Dashboard -> WP Form Builder -> Settings -> Integrations
- Custom: You need to enter the API key information inside the ActiveCampaign section.
- Update Contacts: When you activate this option, the information of customers who registered with the same email will be overwritten, the last subscriber information will be updated.
- Acceptance Field: This option allows customers to make a choice with the data type of checkbox If they agree with the terms and receive emails or not. If the customer agrees, the information will be saved to ActiveCampaign. If the customer does not agree, the information will not be saved. With this option, you need to create a field with the type of Acceptance, then enter the name of the newly created field in the Acceptance Field Name field.
- LIST ID: Select the contact list you want to add to.
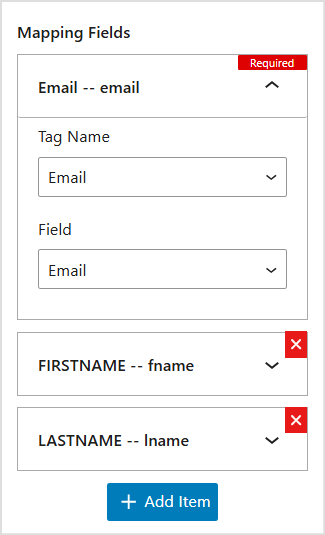
Step 4: Perform full the mapping the customer information you want to save.
- Tag Name: Select the tag name you want to map. This tag name is taken from Active Campaign api.
- Field: Select the field name you want to map with the Tag Name.
Select the corresponding fields of the form and the received tag names to perform the necessary mappings.
Note: Email is a required field when mapping.
Step 5: Complete all the mapping fields you need, save the settings and test the forms in action.