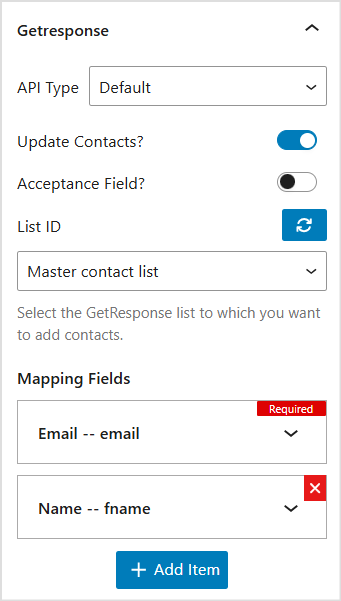
– API Type: Select Default or Custom to enter the API Key.
- Default: You need to enter API key information at: Dashboard -> WP Form Builder -> Settings -> Integrations.
- Custom: You need to enter the API key information inside the Getresponse. section.
– Update Contacts: When you activate this option, the information of customers who registered with the same email will be overwritten, the last subscriber information will be updated.
– Acceptance Field: This option allows customers to make a choice with the data type of checkbox If they agree with the terms and receive emails or not. If the customer agrees, the information will be saved to Getresponse. If the customer does not agree, the information will not be saved. With this option, you need to create a field with the type of Acceptance, then enter the name of the newly created field in the Acceptance Field Name field.
– LIST ID: Select the contact list you want to add to.
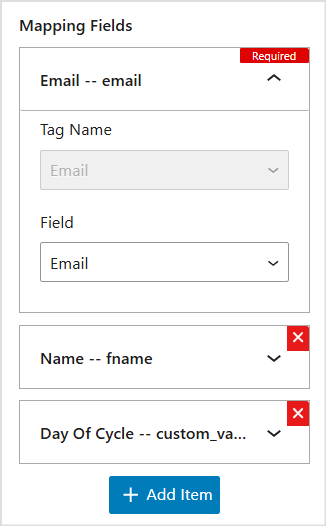
Step 4: Perform full the mapping the customer information you want to save.
– Tag Name: Select the tag name you want to map. This tag name is taken from Getresponse api.
– Field Name: Select the field name you want to map with the Tag Name.
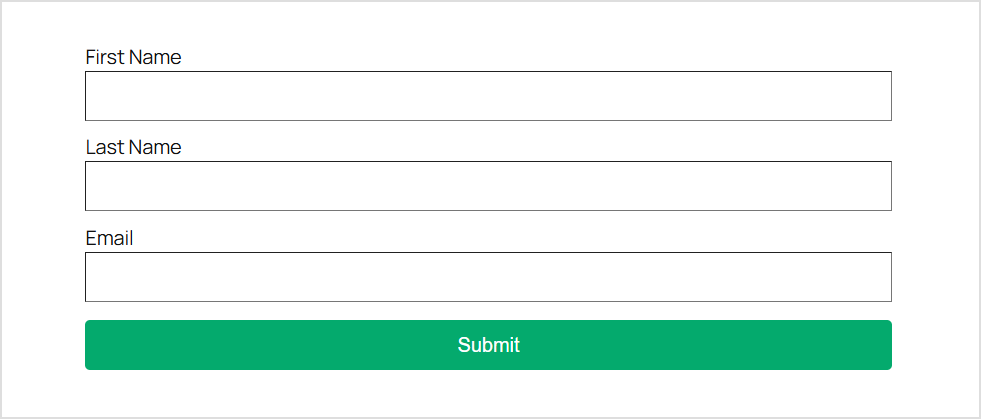
Select the corresponding fields of the form and the received tag names to perform the necessary mappings.
Note: Email is a required field when mapping.