Zoho CRM

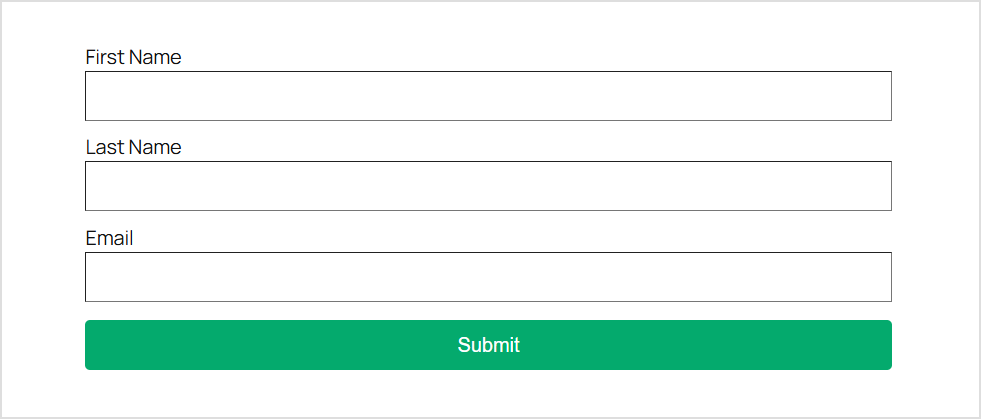
CRM software (customer relationship management software) is a tool that’s designed to help your organization offer your customers a unique and seamless experience, as well as build better relationships by providing a complete picture of all customer interactions, keeping track of your sales, organizing and prioritizing your opportunities, and facilitating collaboration between various teams. We offer our customers a form that integrates with Zoho CRM, for the purpose of collecting customer data and building strong customer relationships for the ultimate goal of driving sales and increasing sales.

Steps to integrate Zoho CRM with the Forms widget:

Step 1: Visit Zoho CRM here and follow these steps:

  • Sign in to your Zoho CRM account if you are not already logged in.
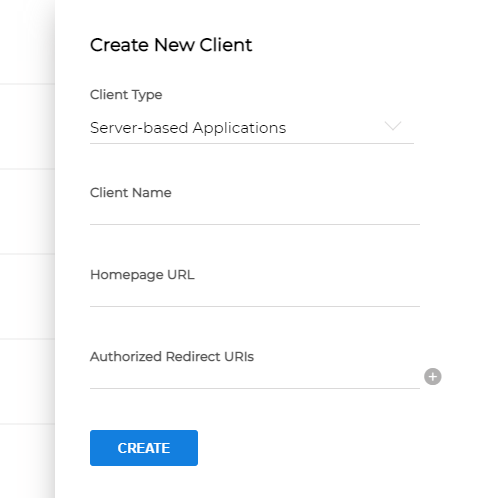
  • Click “ADD CLIENT”, select “Server-based Applications” and fill in the following information:
    Select Server-based Applications

    – Client Name: Client application name, will be displayed when performing authentication.
    – Homepage URL: The path to your website’s homepage.
    – Authorized Redirect URIs: The path will be redirected after successful authentication. Go to Dashboard -> WP Form Builder -> Settings -> Integrations -> Zoho CRM to copy Authorized Redirect URIs.
    Click CREATE to set up a new Client.
    After creating Client successfully, you will receive Client ID and Client Secret. Copy and paste Client ID and Client Secret respectively into Dashboard -> WP Form Builder -> Settings -> Integrations -> Zoho CRM.
    Save Client ID and Client Secret information before performing authentication.
Create Zoho Applications

Step 2: Conduct Zoho CRM authentication.
– After successfully saving the Client ID and Client Secret information, the “Authenticate Zoho CRM” button will be displayed. Click the button to perform the authentication.
– After successful authentication, you will receive the message: “Zoho CRM authentication successful!”.

Authenticate Zoho CRM
  • Zoho Domain: You must use your domain-specific Zoho accounts URL to generate access and refresh tokens. The following are the various domains and their corresponding accounts URLs.
    • For US: https://accounts.zoho.com
    • For AU: https://accounts.zoho.com.au
    • For EU: https://accounts.zoho.eu
    • For IN: https://accounts.zoho.in
    • For CN: https://accounts.zoho.com.cn
    • For JP: https://accounts.zoho.jp
    • For SA(Saudi Arabia): https://accounts.zoho.sa
    • For CA(Canada): https://accounts.zohocloud.ca
  • If you have more than one organization, then the grant token generated will be specific to a particular organization, and the same applies to the access and refresh tokens generated using the grant token.

Step 3: Create forms with full information

Create Forms

Step 4: Select the Actions After Submit section, add Zoho CRM to the actions select box.

Add Zoho CRM to Actions After Submit

Step 5: Select the Zoho CRM section and perform the integration.

Zoho CRM Section
  • Zoho Module: Select the Zoho module to integrate.
  • Get Fields: When you select a Zoho Module, the integrated fields will be automatically loaded. If you want to refresh the fields, please click the reload button.
  • Acceptance Field: This option allows the customer to make a choice with a checkbox data type, agree to the terms and receive emails or not. If the customer agrees, the information will be saved to Zoho CRM. If the customer does not agree, the information will not be saved. With this option, you need to create a field with the type Acceptance, then enter the name of the newly created field in the Acceptance Field Name field.
  • Mapping Fields: The mapping fields will be created in the next step.

Step 6: Perform the mapping:

  • Tag Name: Select the tag name you want to map. This tag name is taken from Zoho CRM api.
  • Field: Select the field name you want to map with the Tag Name.
Mapping

Step 7: Complete all the mapping fields you need, save the settings and test the forms in action.