With the Email 2 action, you have more options to send emails to your customers with a selection of the right email templates to promote to potential customers. To integrate Email 2 after submitting forms, you need to do the following steps:
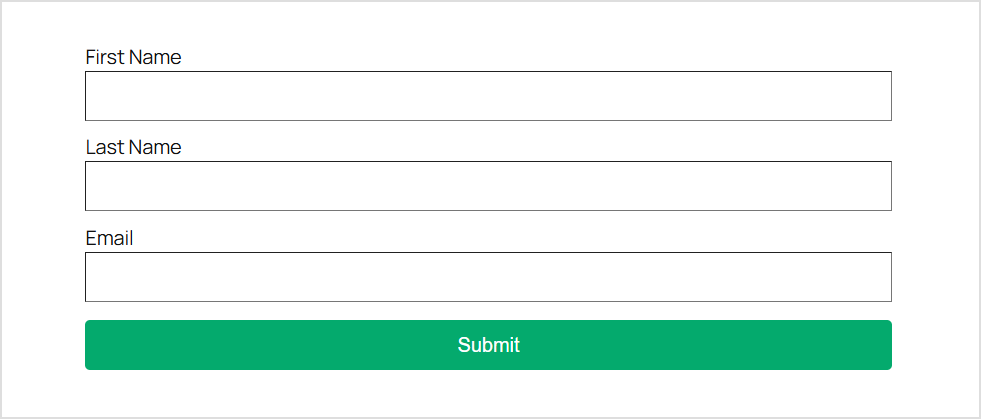
Step 1: Create forms with full information
Create Forms
Step 2: Select the Actions After Submit section, add Email to the actions select box.
Add Email 2 to Actions After Submit
Step 3: Select the Email section and perform the integration.
Email 2 Section
To: The recipient’s email address. You can send multiple emails, the emails are separated by commas.
Subject: Subject of the Email.
Email Template: Email template, choose email template to send. You can use our email templates, or create a new email template, see how to create an email template here.
Form Email: Email address of the sender.
Form Name: The name of the sender.
Reply-To: Reply email address.
Cc: People who will receive a copy of that message, as a primary recipient. Everyone who receives the message will see a list of email addresses of people who have received it like them.
Bcc: These recipients will receive a copy of the email. The recipient will not be able to see the list of recipients.
Metadata: Some information is attached to the email.
Step 4: Complete all the required information, save the settings and test the form working.